I don’t use any active or passive cooling system. The board is used mainly to run scripts at scheduled times through cron.
- Register a free account at https://newrelic.com/
- Create an API key for data ingestion. You can use the key that was already created for you by New Relic, but I prefer to have separate keys for each type of activity
- Go to the API management page (from the account dropdown, click API keys)
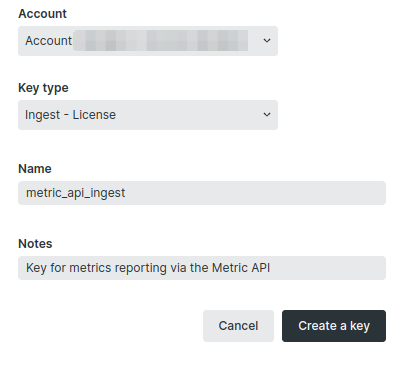
- Click Create key. Key Type: select Ingest License
- Add description(optional)
- Save

- SSH to your Pi board
- Create environmental variable
| |
- cd to your preferred folder and create a python file
cputemp.pywith the following code:
| |
The endpoint address could be metric-api.newrelic.com or metric-api.eu.newrelic.com it depends on your configuration.
More details here: https://docs.newrelic.com/docs/data-apis/ingest-apis/metric-api/report-metrics-metric-api/
- Give execute permission to the script
| |
- Setup cron job. Type
crontab -eand add following to the end of the file:
| |
Exit and save the changes. The script will run and send temperature data to New Relic Metric API Endpoint every minute.
Follow the tutorial if you need help with cron configuration: Crontab – Quick Reference
- Let’s check our data in New Relic. Go to Query your data → Query Builder and run following query:
| |

- Now let’s configure the alert so we can have a notification when the board is overheated. Go to Alerts & AI → Alert Conditions(Policies) →New alert Policy**. Add policy name and select Create policy without notifications(We will configure our notifications in a few moments)
- On a policy page click Create a condition. Select NRQL and click Next.
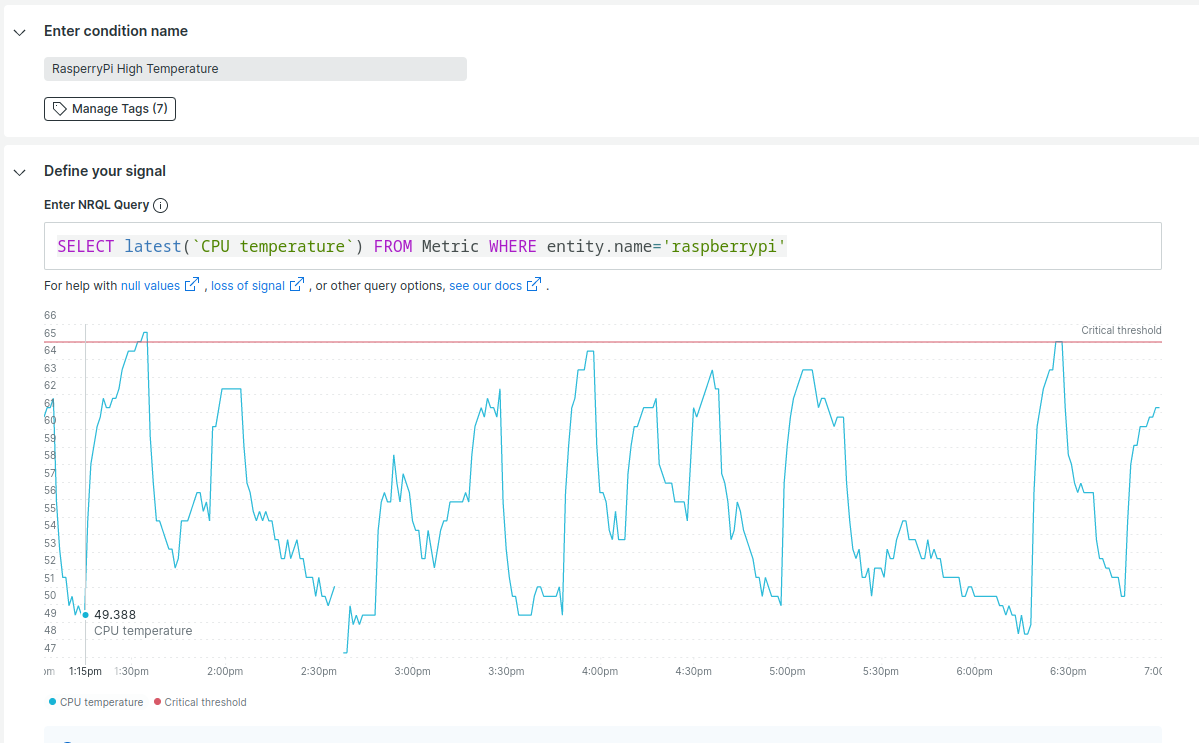
- Enter NRQL Query:
| |

Set condition threshold:

Alert will be triggered when CPU temperature will have a value above 65 for at least 5 minutes.
Save condition.
Now got to Alerts&AI → Workflows → Add a workflow.
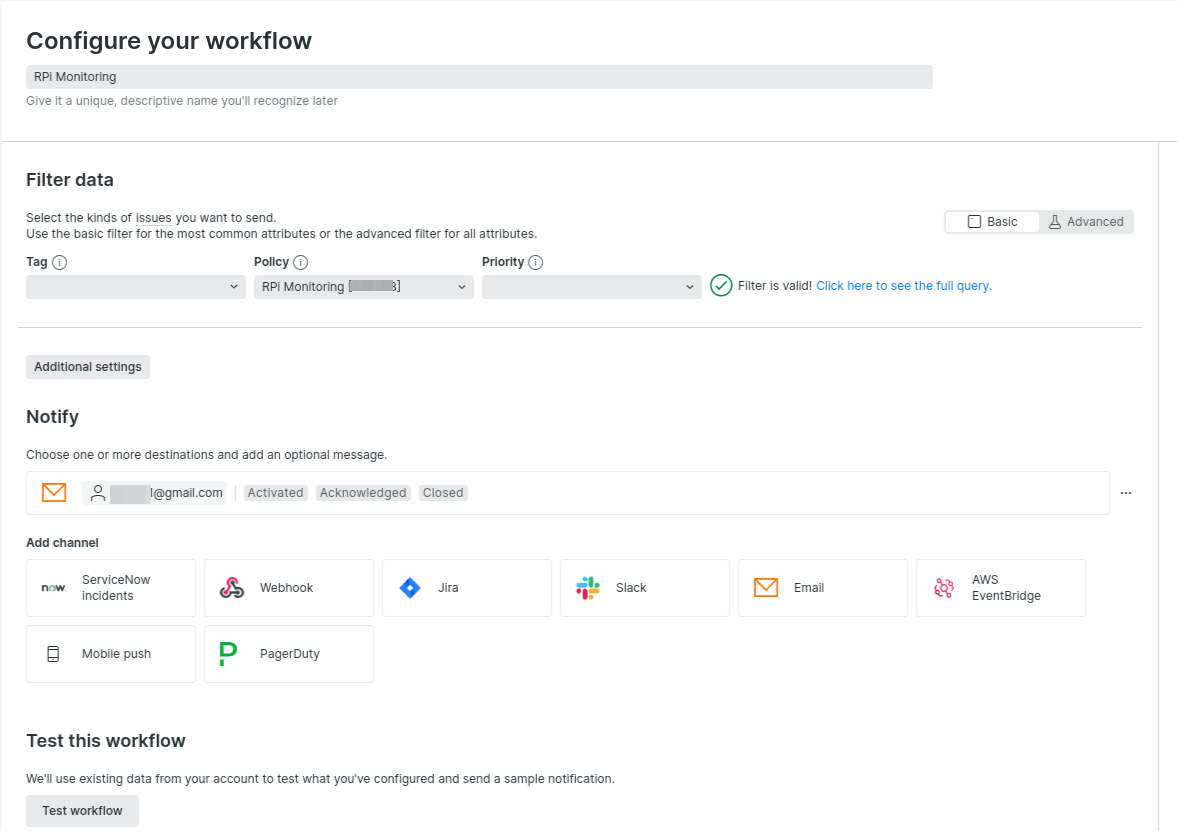
Add a unique name for the workflow and pick the policy created on a previous step from the Filter data section.
Add the email address to which you want to receive messages.
Workflow configuration page now looks like this:

- Click Test workflow. If everything is set up correctly, a letter will be sent to the mail address

Featured image of this page was generated using Microsoft Bing Image Creator